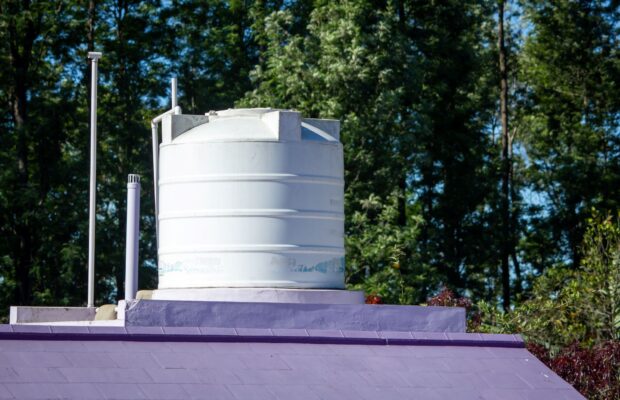
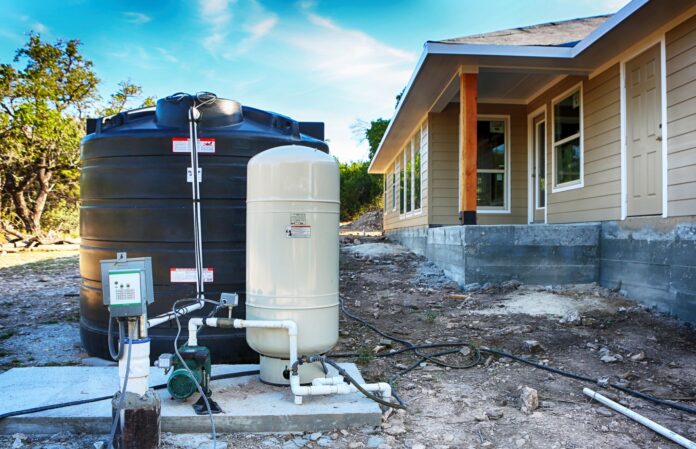
Are you tired of costly utility bills and the uncertainty of municipal water supply? It could be time to consider installing a water tank in your home. Water tanks could be an excellent investment for anyone saving money and becoming self-sufficient.
According to UNICEF, half of the world’s population could face water scarcity as soon as 2025. For this reason, they also endorse climate-resilient water sources, including water storage structures like water tanks.
Understanding the importance of having alternative water sources or backup systems could highlight why your home needs a water tank. Below is a guide to installing a water tank in your home.
Step 1: Choose The Right Water Tank
The first step in installing a water tank is to choose the right one for your needs. Consider the size of your home, the number of people living there, and your daily water usage. Furthermore, you can choose from a variety of water tanks.
Consult with a professional like The Water Tank Factory or similar suppliers to determine the best option. Whether you prefer polyethylene tanks, concrete tanks, or steel tanks, a professional’s advice could go a long way.
Step 2: Determine The Installation Location
Once you’ve chosen the right water tank, the next step is to determine the best location for installation. Install your water tank on a flat, stable surface, preferably close to your home’s downpipes. It could ensure that rainwater can easily flow into the tank.
In addition, there are other considerations to make before installing the water tank. Here are some of them:
- Building And Construction Codes: Some areas may have specific rules or regulations for constructing or erecting structures at home. Be sure to check if your region has any before determining the location.
- Monitor The Water Catchment: Although a water tank is moveable, it could become difficult to change the location after installation. Therefore, finding the spot to maximize the water catchment beforehand could be best.
- Review The Tank Dimensions: It could help measure the space needed to install your chosen water tank. Ensure it’s not too close to buildings or trees to make routine maintenance easier.
- Mind The Sunlight: Excess sunlight could encourage algae growth within the water tank, contaminating the water source. Installing the water tank in a shaded area with little direct sunlight may be best.
Moreover, the water tank could be an eyesore for those planning to decorate their outdoor space. Thus, finding the best place around the home may need more preparation than initially planned.
Step 3: Prepare The Installation Site
Before installation, you must prepare the site for your water tank. Clear the location of any debris and level the ground. For a more solid structure, you could lay a bed of sand or gravel to provide a stable base for the tank.
Step 4: Install The Water Tank
With the site prepared, you can now install the water tank. Follow the manufacturer’s instructions carefully to ensure the installation is correct. You may need to enlist the help of a professional to assist with the installation, particularly when installing a large tank.
Other aspects to think about could include the following:
- Ensure there are no sharp objects close to the water tank.
- Double-check all connections and fittings so they aren’t too tight or loose.
- Use more flexible hoses or fittings, as the rigid type could damage the tank in the long run.
- Consider installing a leaf catcher and a diverter to prevent debris from entering the water.
- Think of all the possible uses for the water in the tank. Install a delivery system suited to your needs.
- Install a filtration system should you use the water for drinking, cooking, or other purposes.
- Position an overflow drainpipe to run the effluent away from the home and other structures.
Only after proper planning and completing the installation could residents finally move on to the next step, connecting the water source to the outlets.

Step 5: Connect The Tank To Your Home’s Water Supply
Depending on the various uses residents have for the water from the tank, they may need multiple outlets. A tap on the side of the tank gives them access to unfiltered water, while a pump and filter could supply the home.
Professional installers can ensure that the correct outlets are in place and that the water is clean and safe for its purpose.
Step 6: Maintain Your Water Tank
Lastly, it’s essential to do regular maintenance. Not only will the water tank last longer, but it could also ensure the safety of the residents. Residents could regularly clean the tank and check for leaks or damage to keep it functioning optimally.
Here is a routine for regular cleaning:
- Drain all the water from the storage tank.
- Combine detergent and warm water to clean the inside of the tank thoroughly.
- Rinse the entire tank to remove any residual detergent.
- Spray or coat the inside of the tank with an anti-bacterial spray or disinfectant like bleach.
- Run some water through the tank and pipes to flush the disinfectant through.
- Drain the tank once more and leave it to dry completely.
- Refill the tank with clean water or wait for rainwater to collect.
In addition to thorough cleaning, residents can add chemicals to the water to prevent bacteria and algae growth. Water tank specialists could provide more insight if they are unsure what to choose or need help.
Conclusion
With the right tank and installation process, you can enjoy a reliable and clean water supply for your home’s needs. Following the tips and steps from this guide and consulting with a professional could ensure your water tank installation succeeds.


